Introduction
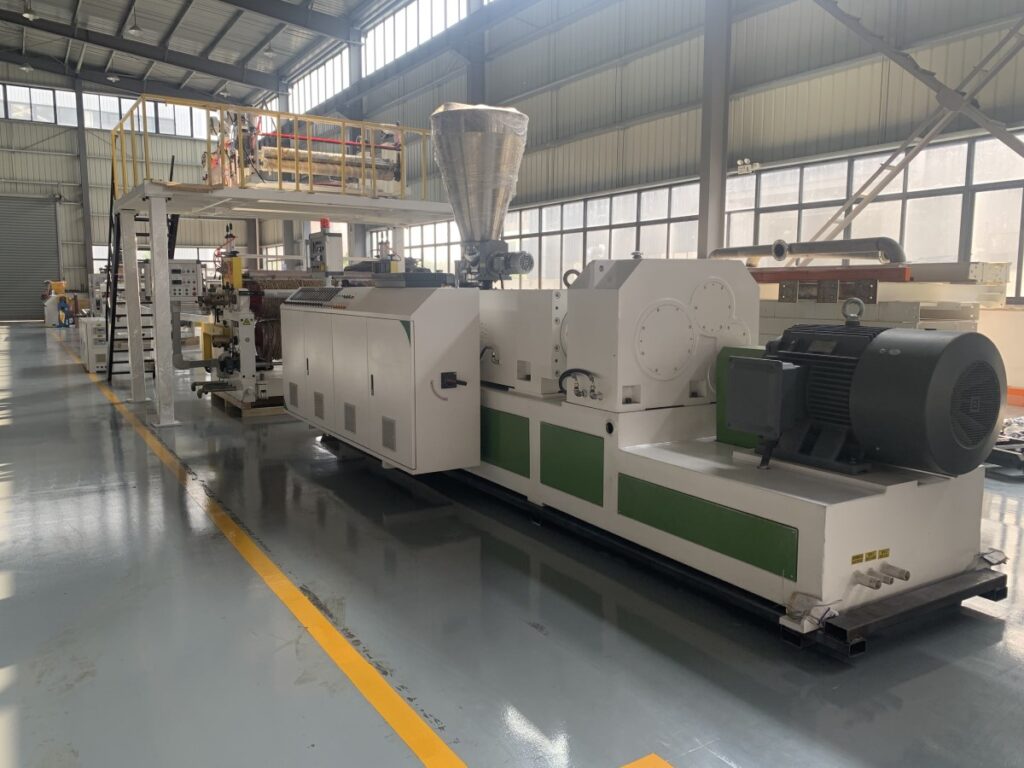
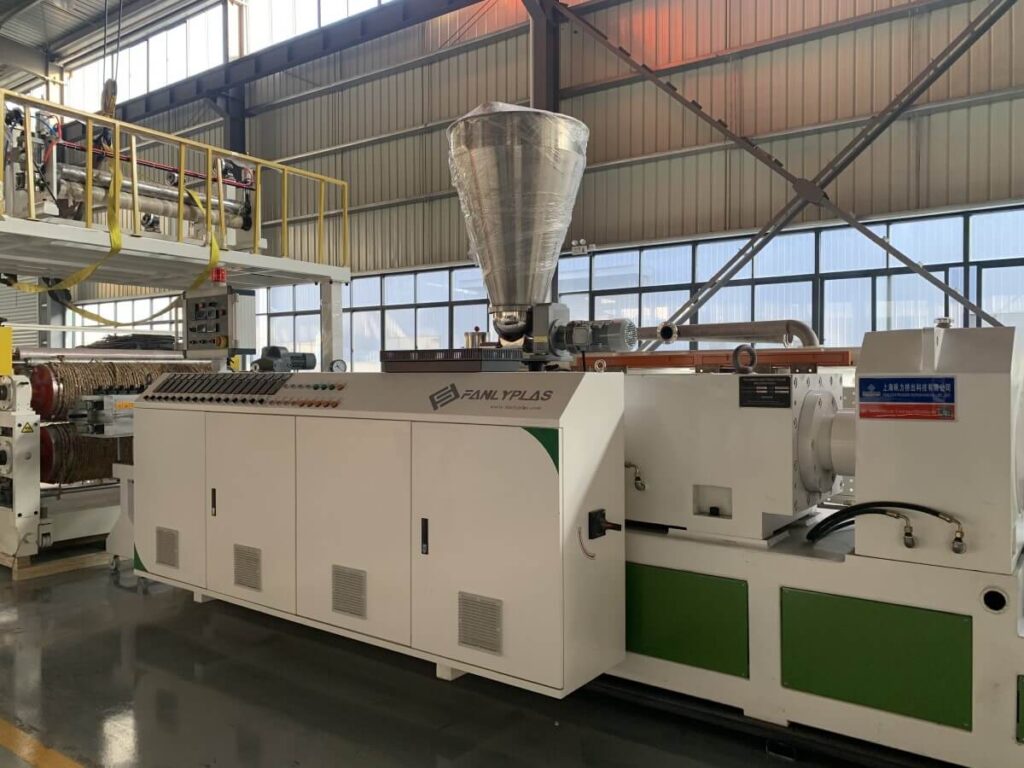
The essence of cleaning your SPC floor extrusion line goes without saying. After using the production machine for a while, stains get stuck on the surface of crucial components like the barrel, screw, and die. Similarly, material residue builds up within the equipment. These elements have a detrimental impact on the production speed and efficiency of the machine.
Still, it could amount to low output quality due to the presence of impurities. That is why you have to keep your manufacturing unit tidy at all times. So, how can you clean the SPC floor extrusion line? It is a question most plastic extruders grapple with. Remember, employing the wrong cleaning technique could result in unintended machine damage. Fortunately, FANLYPLAS has all the answers your need about how to clean the SPC floor production line. Read on to find out more.

Importance of cleaning the SPC floor extrusion line
There are numerous merits to keeping your SPC floor extrusion line tidy at all times. By cleaning the production unit, it is easy to spot any indications of wear and tear on the barrel, crew, and other crucial components of the machine. Early detection of wear mitigates unprecedented downtimes and constant repair expenses. Remember, unchecked wear and tear will compromise equipment efficiency and output.
Additionally, regular cleaning helps to eradicate carbon buildup in the production unit. If there is a buildup of carbon and other impurities at the screw’s root the result would be the emergence of black specs and other problems in your final output.
Moving on, thoroughly tidying the unit eliminates the buildup of degraded polymer. Degraded polymer tends to form up along the backside of the screw flight. Consequently, it has a damaging effect on product quality.

Valuable Tips for cleaning the SPC floor extrusion line
A production line is a special machine that should be given a special cleaning make-over. A proper cleaning procedure will restore the efficiency of the equipment and reduce any risk of injury. The following tips will help you clean your manufacturing unit pristinely without any issues.
1. Utilize proper cleaning equipment
Cleaning the extrusion machine is a technical job. Like every other technical job, the task demands the right kind of tools for stellar results. Using the wrong tool could inflict further damage to the components. The equipment features a lot of metallic parts with sharp edges and hot surfaces as well as other materials that could be corrosive.
To clean the screw and barrel, you require a pair of heat-resistant gloves. For solid eye protection, you should have your goggles on. Together with that, you will also need copper wire mesh, a copper brush, a tube ruler, stearic acid, an electric drill, and a well-made cotton cloth.
The copper brush and the copper scrapper will come in handy when cleaning resin from the screw surface. After the resin on the screw surface is eradicated successfully, utilize a screw-based extraction tool to move the screw and clean it some more. Cleaning the die section demands brass wool, brass brushed, and brass-based hand tools.
2. Be on the lookout for worn out parts
Moving parts are the most susceptible to wear and tear. You need to keep a close eye on the screw, barrel, and die sections owing to their pivotal role in the extrusion process. Timely identification of wear and replacement of the affected parts is vital for smooth processing.
3. Employ an effective cleaning strategy
As much as cleaning sounds like a walk in the park, it will be a waste of time if you do it recklessly. First, you ought to know that areas that are more prone to dirt and material build-up. Moreover, you need to know where to begin and where to finish the cleaning process.
Therefore, start by closing the feeding port at the hopper’s bottom. Thereafter, minimize the screw velocity and maintain it until the flow of melt material stops at the head of the die. Set all the heating zones on the barrel to about 200 degrees Celsius. Only commence the cleaning procedure the moment the barrel hits the aforementioned temperature.
The cleaning process should be carried out by a single individual while another, the operator, should be manning the control panel for changes in system pressure along with screw torque and speed. The end goal of the cleaning process is the conversion of the resin being processed to a clean resin. Finally, allow any residual cleaning resin to steadily flow out of the machine.
4. elect a proper detergent
Not every detergent will be ideal for tidying your extruder. Using the wrong detergent could mean more harm than good for your expensive machine. It is crucial to analyze the machine’s cleaning requirements and also take the ingredients within the detergent into consideration. Fortunately, the market has different commercial detergents hence offering a wide range of choices.
Methods of cleaning the SPC floor extrusion line
Resin cleaning
As the name suggests, resin cleaning involves the use of resins. Different resins can be employed in cleaning extrusion machines including the exposy resin cleaner and polyester resins. The two resins are particularly utilized in tidying new extrusion equipment or extruders that have been in use for a while.
Resin cleaning is applicable in the event of material build-up in the equipment. Material build-up can cause a change in the color of the final product or sluggishness in the processing speed. Before using the resin, adjust the machine’s backpressure and temperature to a set value. After that, add material and the resin into the equipment then allow the unit to extrude the material. Repeat the procedure until the color change is consistent with the color of the original product. The extruder will be clean when that happens.
Non-resin cleaning
The non-resin cleaning technique utilizes materials like toilet paper, sawdust, corn, and rice. These materials are easy to crush in addition to providing friction. Non-resin cleaning is specifically applied in tidying the surfaces between the screw barrel and the screw. Resin glue tends to attach between the two surfaces during the extrusion process impacting the quality and speed of production negatively.
However, when the aforementioned materials are heated their sufficient friction and hardness eliminate the resin glue. Upon putting non-resin cleaning to use, it is advisable to inspect the resultant condition of the screw cylinder and the extrusion machine. When non-resin cleaning works, you will also have to utilize resin to clean extrusion material before powering the production line.
Tidying the extrusion line without having to take apart its component is quite time-saving. Yet, it could also lead to inefficient cleaning as some parts will not be accessed.
Manual Cleaning
Manual cleaning involves taking apart components of the extruder and working on them individually. Of course, the extruder needs to be heated first to acceptable working temperatures for the exercise to be successful. For instance, you will have to disassemble the barrel and screw after heating, allow them to cool, and then soak them in an organic solvent container like a tank. The solvent tank should have cyclohexanone. When the components are fully soaked in the solvent, it becomes easy to remove any resin or polymer deposits on the screw swells or barrel surface. You can use a steel pipe to avoid using solvents. Steel pipes seal off the solvent container tightly and prevent solvent evaporation.
Stripping
It is a form of manual cleaning where the extrusion machine has to be dismantled or stripped entirely to facilitate thorough cleaning. Resin cleaning and purging might be cheap and less time-consuming but they are not perfect. Plastics exhibit varying behavior upon heating. While PC sticks on the metal surface of the extruder or die, PVC decomposes to yield corrosive acids. That is why it becomes imperative to utilize stripping to get to hidden spots that other cleaning methods may fail to cover.
Safety Measures while stripping
- To begin with, the cleaner should be well trained on how to clean the kind of production line you have.
- The operator needs to know the potential dangers that come with this line of work. That said, the die area must be covered during the stripping process to keep the cleaner from getting into contact with hot material. Apart
- The operator should also know the thermoplastic material degrades under employed processing temperatures to put out odors that are unpleasant and irritating. Likewise, other materials are capable of producing gases under high pressure. The emitted gases should be perceived as dangerous hence should neither be ingested nor inhaled.
- Owing to the amount of danger that comes with the stripping process, the cleaning operator must utilize the right safety gear. That includes a facemask that is heat resistant along with safety footwear, long-sleeved overalls, and gloves.
- Carry out the process of stripping the unit for the cleaning exercise in an area that is well ventilated. On the same note, it is advisable to strip the equipment in a space other than the processing area.
- Note that the die and screw components are not only heavy but also awkward and difficult to handle. The two parts tend to be extremely hot thus the risk of burning is significant. Any molten or hot plastics that are exposed during the stripping exercise can easily stick onto human skin causing damaging burns.
Partial Dismantling
In most cases, you do not have to strip or dismantle the entire machine for a good clean. You can simply focus on the primary components like the barrel and screw. The die is another area that demands cleaning. Simply remove it and swing it to any side then clean joint faces and other parts that are accessible. Get rid of the cooling assembly on the screw before it cools down. You can drive out the screw using a hollow drive shaft located at the machine’s back too. The motion will force the screw to come out of the barrel and bring out the screw for tidying.
Another easy way to access the screw is by removing the nose. Once the screw is open, you will have to strip parts that have been exposed. That you can do with the help of pliers. You can also scrape off any material build-up. There are steel-wall-made paper scrapers that you can use to work on plated screws that are non-chromium.
To lower polymer adhesion, it is imperative to wet the scraper with cold water before getting to work. Otherwise, you can simply utilize brass wool, brass brushed, and bras hand tools to avoid damaging the plating on the screw. In the course of cleaning, be on the lookout for any signs of wear and tear. Note down any reports of damage and take appropriate steps to resolve any problem that comes up.
Handling the Heater
In the process of dismantling the die and extruder for cleaning, you will be interacting with the heater a lot. That can be a real challenge considering that you will be handling relatively hot equipment. Therefore, you must have your face shield on as well as a pair of heat-resistant gloves. You will have to unplug the heaters from every zone to maintain the heat on the die.
Similarly, disconnect the power supply if you are to remove the heater band. You need to unplug the thermocouples and die heaters to remove them from their respective zones. Take extra care when handling the delicate heaters. Do not handle them recklessly or flex them excessively. Only hold the heaters by the terminal box or the joint flange. Label each one if possible and only place them on a surface that is smooth and flat.
Die Cleaning
The die surface might still be hot during the dismantling process. Be keen to avoid getting burnt. Apart from that, be careful to avoid damaging the metal surface that holds the melt. In the same way, take time to carefully disconnect the thermocouples and heaters from the die assembly. You also have to take care of pressure transducers on the die.
Only when everything has been meticulously dismantled can you get on with the cleaning process. The die surfaces should be cleaned well by removing any clogged material from their surface. Brass wool, brushes, and hand tools will come in handy during this process. You might need to wet or moisturize the tools to avoid clogging the die. Of course, you need to handle every part with great care to avoid leaving any scratches or nicks on the surface. Plus, every component that has been tidied should be placed on a clean flat surface.
Re-assembly
When the cleaning exercise is done, the die ought to be re-assembled once again. It is vital to properly align different components of the die. Otherwise, it could trigger degradation and hang-ups. Extra caution should be taken when handling the sealing faces between the barrel, head, and die sections. If the flat sealing faces do not have sufficient contact pressure, the outcome is contamination.
Moving on, you need to treat threads with molybdenum disulfide and clean them with a wire brush before reassembling them. It is not advisable to use grease or oil as there are susceptible to oxidation that results in blockage. You require a rust inhibitor if you plan to store the die. Another tip for storing the die is a clean dry place.
In case the die has been used to process halogenated polymers or un-plasticized polyvinyl chloride, you should wash the surface of the die with hot water. The hot water will help in eliminating acid traces before the rust inhibitor comes into play. Record keeping during the re-assembly cleaning procedure is essential. It makes it easy to account for every component or cleaning procedure.
Barrel Cleaning
You have to clean the barrel when it is still set at purging temperatures. To begin with, you have to assemble all the tools you need for the task. Other than that, detach any thermocouples or pressure transducers that might be exposed. That includes an electric drill, and a long extension rod not forgetting a round wire brush.
To get underway, first wrap copper wire gauze around the outer diameter or surface of the round wire brush. Before probing the barrel’s bore with the gauze or brush, you should first pour some stearic acid into the barrel bore. Furthermore, consider sprinkling the stearic acid on the copper gauze surface as well.
After inserting the gauze or brush assembly into the barrel bore, use an electric drill to move around the assembly. Allow the electric drill to work the assembly to the point that it can seamlessly rotate within the bore. You might have to add more stearic acid to the bore for an excellent cleaning session.
When you are satisfied with the result, take the gauze/brush assembly out of the bore of the barrel. Thereafter, drive a cotton rag bundle back and forth into the bore of the barrel. You can wrap the cotton rag around the head of the brush as well. This exercise aims to swab the bore and eliminate any stearic-acid residue or purge resin.
Repeat this a couple more times for perfect results. In the process of polishing the bore barrel, make sure to get rid of any fragments, broken wires, or foreign particles. You can use a vacuum hose for this. Finally, inspect it closely for any signs of wear.
Screw Cleaning
To clean the crew, you first have to detach it from the extrusion machine. You can only remove the screw from the extrusion machine after resin stops flowing out of the extruder. Remove the siphon tube and the rotary union if your extrusion line features screw cooling. After that, utilize the screw extractor mechanism to drive the screw further into the barrel. Ideally, the screw extractor mechanism is linked to the gearbox on the extruder.
Continue driving the screw out of the barrel to expose about five turns for cleaning. Thereafter, utilize the brass wire brush and putty knife to eliminate any purge resin that might be lingering on the channels of the screw. Keep on driving the screw to reveal five more turns. Clean the exposed turns thoroughly using the aforementioned procedure.
Sprinkle a little stearic acid on the hot screw’s root after cleaning a substantial amount of purge resin from the screw. For any purge resin residue that remains, remove it using the brass gauze. Polish the entire surface of the screw with brass gauze then utilize a cotton rug to make the final touches.
It is imperative to clean the exterior diameter of the flight and screw channels pristinely to eradicate any unwarranted contamination during future runs. Set the screw in a cool dry place then focus on tidying the barrel. Likewise, you can wipe down or spray the screw with light oil to curb rusting. Another great maintenance measure is chrome plating the screw’s root to control plastic build-up.
Alternative Cleaning Methods
Flame cleaning: is a great alternative to traditional cleaning tactics. However, the method will not work if the polymer on the extruder surface degrades fully and can be extracted effortlessly. You have to be careful if you opt for flame cleaning to avoid distorting die parts because of uneven heating. Apart from that, conduct the exercise gently. Utilize flames of low temperature. Using hot flames on sensitive areas like the screw flight could be damaging. It could result in diminished hardness or wear resistance. Nonetheless, polish the screw with an emery cloth and a soft wire brush after flame cleaning.
FAQS
I). What do I need to clean an SPC floor extrusion line?
Cleaning an extrusion line demands a cleaning agent capable of removing plastic and carbon residue such as the die soap as well as brass scrapers, copper gauze, and abrasive pads. Together with that, you will require a facemask that is heat resistant along with safety footwear, long-sleeved overalls, and gloves.
II). What are the advantages of cleaning the SPC floor production equipment?
Cleaning the extrusion line helps to improve the overall performance and functionality of the unit. It plays a central role in eliminating plastic and resin build-up on the surface of different key components. The decomposition of heat-sensitive plastics leads to the production of harmful toxins that can corrode the machine. Toxins and foreign materials also bring about impurities that compromise product quality. Regular machine cleaning also aids in sporting equipment wear and making repairs on time.
Conclusion
Regular cleaning is the ultimate solution to smooth SPC floor extrusion line running. Yet, you should follow the right procedure when cleaning your unit to avoid damaging the primal components and limiting overall functionality. We hope our comprehensive guide will provide a clear roadmap to effectively tidying up your production equipment.
